Thursday, March 27, 2014

Easter Sugar Cookies with Royal Icing

Hey Hey Happy Thursday! Hope you all are having a wonderful week so far. Ok, usually on the ol blog here I show the recipes I try and succeed at. There are many that fail behind the scenes that I never end up writing about because...well they failed. Why would anyone want to see a recipe that doesn't work, right? Well today I'm going to share with you a recipe that failed in the looks department, but totally succeeds in the flavor department, which I feel is more important :)

This was my second attempt at decorating cookies and making royal icing. The first time I tried, the icing never really fully dried and it wasn't that shiny pretty icing I see all the time on the cookies at the store. So I decided to try a different recipe. Since I'm still very new at using this kind of icing, I knew I wasn't going to be perfect at it right away. I also knew I could still make a really good sugar cookie which would make up for bad decorating. That is why I'm going to share with you my super-tasty-yet-not-so-pretty Easter Sugar Cookies with Royal Icing.
As you can see I chose a cute flower, a little bunny and what is supposed to be an egg shaped cookie cutter. Personally I think they look more like circles, but hey, they taste good...so yeah.
I made five different colors of icing. And I know the main reason these didn't come out perfect was because of my patience...you see, I don't have any. Ask my husband, he'll agree. I rushed through the icing part because I thought it was going to be easy. By all means this isn't hard, I just needed to wait until my outlines dried. Obviously I didn't do that every time.
Ok so maybe I'm not ready to be a fancy perfect cookie designer, but I'm getting there. Remember I'm a new cook, so things like this are still bound to happen. I'm just happy you let me share with you all me hits and misses. You guys rock!

Ingredients:
For Cookies:
3 Cups flour
1 tsp baking soda
1/2 tsp salt
1 Cup unsalted butter, softened
1 Cup white sugar
2 eggs
2 tsp vanilla

For icing:
2 Cups powdered (confectioners) sugar
4 tsp milk
4 tsp light corn syrup
1/2 tsp vanilla
Different food coloring

Directions:
Combine the flour, baking soda and salt in a large bowl. Set aside.

In your mixer combine the butter and sugar until smooth. Add in the eggs one at a time, then the vanilla.

Slowly add in the dry ingredients and beat until you have a smooth dough. Split the dough in half and wrap each half in plastic wrap. Refrigerate for one hour.

Preheat oven to 350 degrees. Line baking sheets with silpats or wax paper.

Take one batch of dough out and roll onto a lightly floured surface. Keep rolling dough around on the flour until it's no longer sticky. Roll out to about a 1/4 inch and cut out your cookies. Do the same for the other batch of dough.

Place the cutouts on your baking sheet and cook for about 8-10  minutes. Remove and let cool on the sheet for a few minutes before transferring to a wire rack. 

While the cookies cool, beat the powdered sugar and milk until smooth. Add in the corn syrup and vanilla extract and stir until fully combined. 

Set out as many bowls as colors you are wanting to use. So if you have five colors, set out five bowls.

Add an equal amount of icing into each bowl. Drop in as many drops of food coloring as you want, stirring after each drop, until you reach your desired color. 

Pour icing into your decorating bottles, or plastic bags. Start by outlining your cookies with the icing color you want to use. Let the outline dry (this is what I failed to do).

Once dried, fill in the outline with whatever icing color you choose. Let that layer dry for about an hour and add more decorations to that, or leave as it is and enjoy!


Are you a cookie decorating pro or a total novice like me? Please feel free to share your icing decorating tips or any royal icing recipes you love! Can't wait to hear them!

Need a mixer? This is mine!

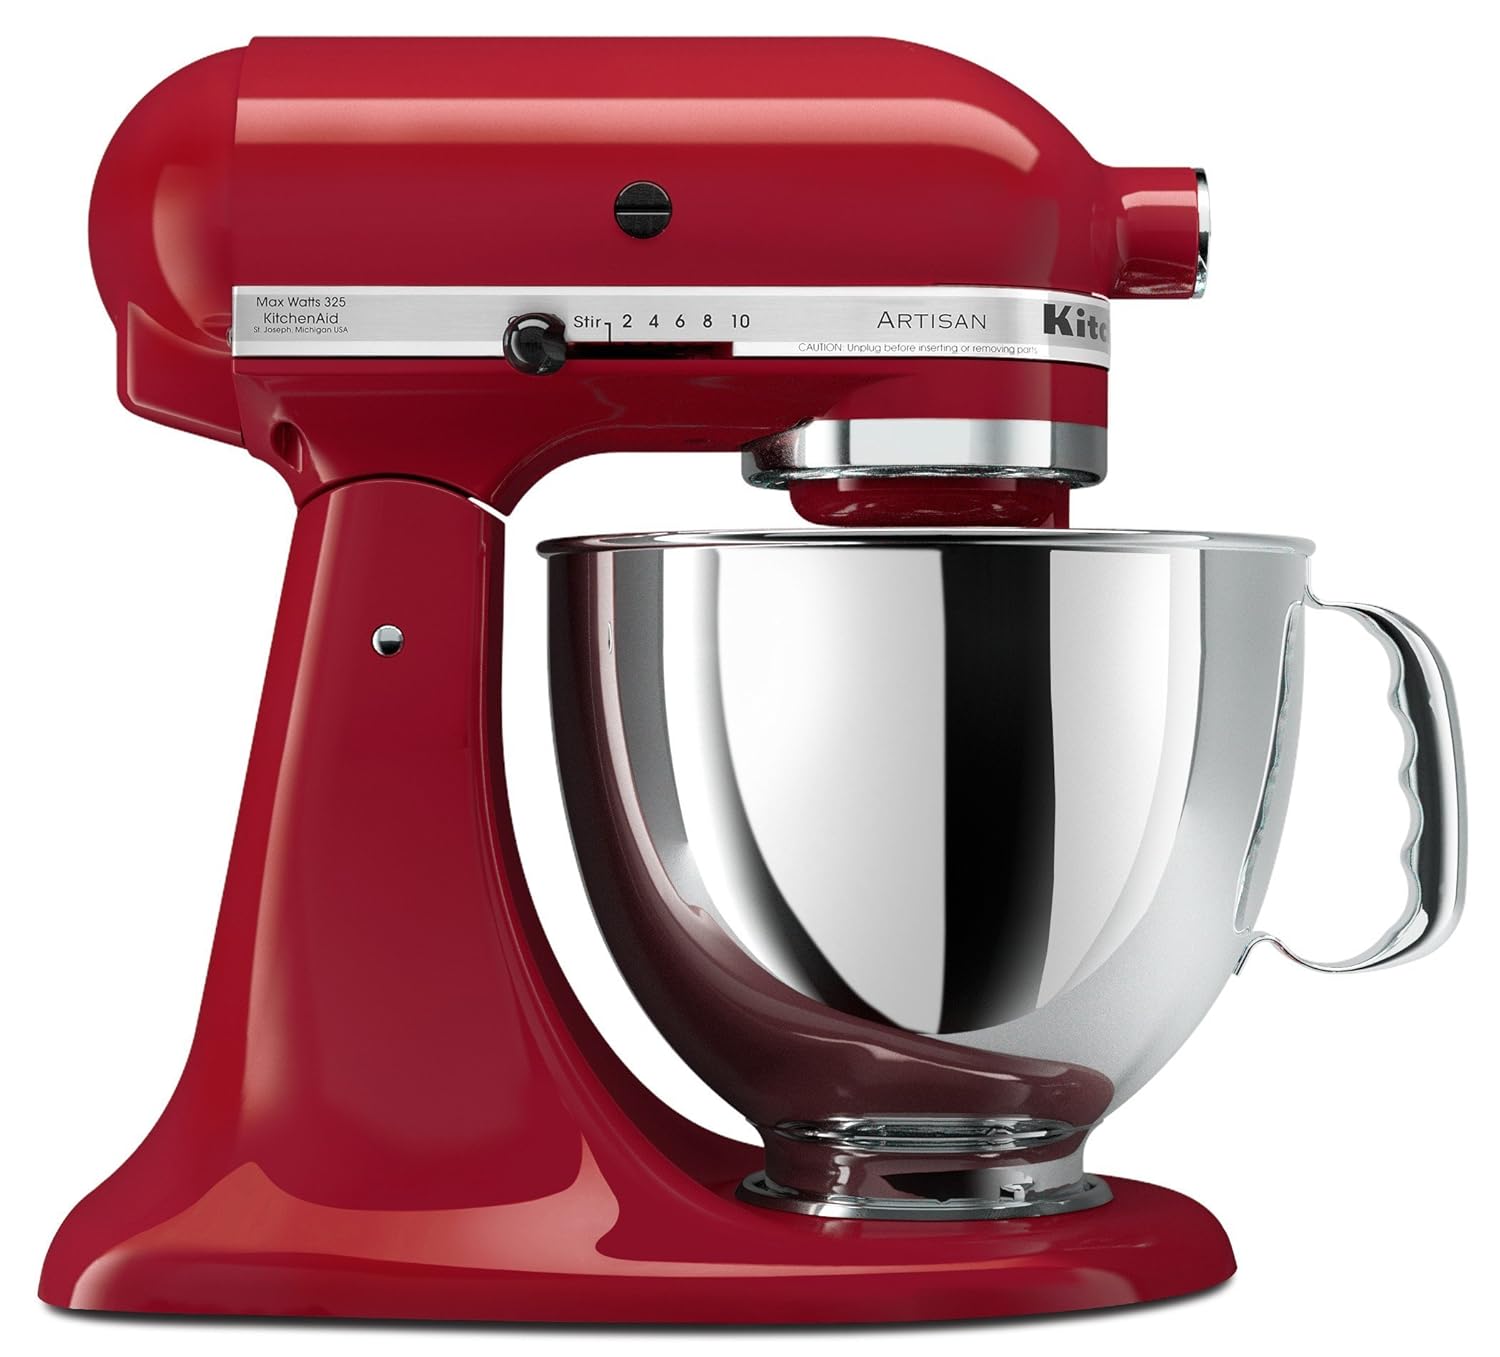
KitchenAid 5 Quart Mixer

Need baking sheets? These are great!
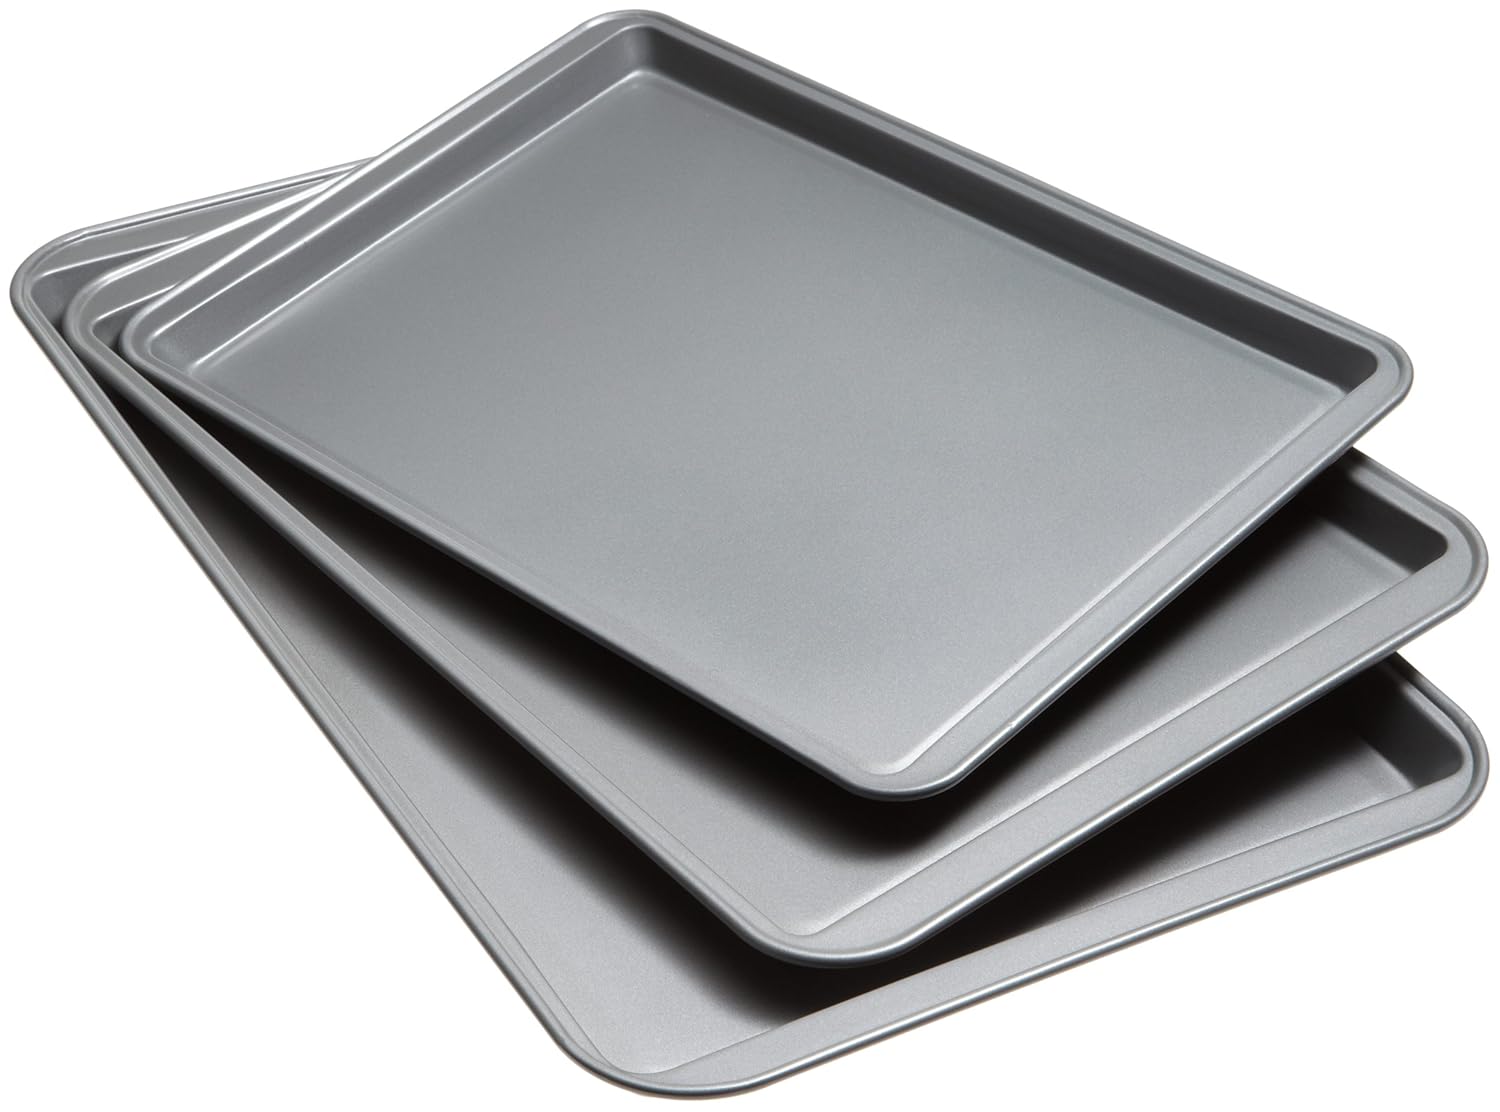
Baking Sheets

This is the same silpat I use every time I bake!

Non-Stick Silpat Baking Mat 

Got decorating bottles? I use these!

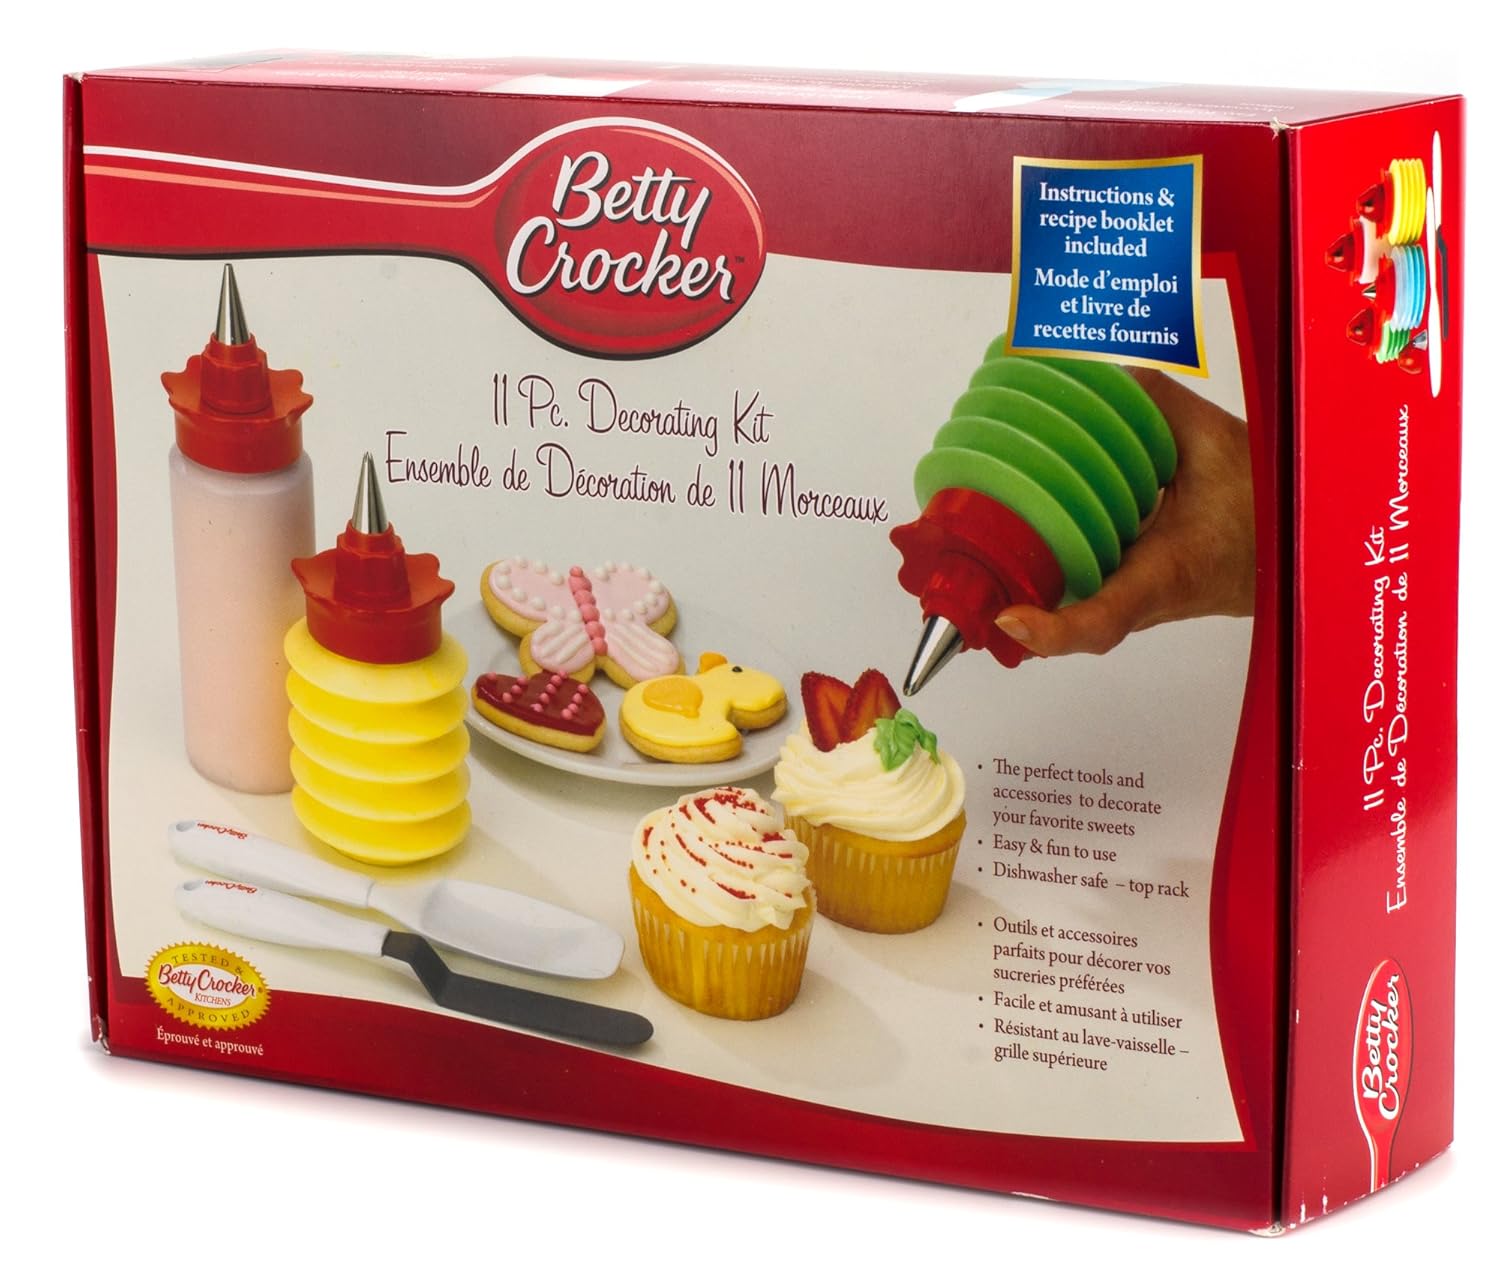
Betty Crocker Decorating Kit

Thanks for stopping by!

**I linked up to the homeacre hopbloom designs, all things thursday, inspire me wednesday, whats cookin wednesdaywicked awesome wednesdayflusters creative mustertutorial tuesdayshow me what ya gotcreate link inspiretitus 2 tuesdaytasty tuesdayturn it up tuesdaythe scoopnifty thrifty tuesdaybetween naps on the porchmake it pretty mondaymeal planning mondaybest of the weekendfrom the farmanything blue fridayweekend bloggy readingcreativity unleashedfreedom fridayskitchen fun and crafty fridayfoodie fridayfriday link party, thursday style

***recipe adapted from here

Monday, March 24, 2014

Deviled Eggs

Hey All and Happy Monday to you! Did you miss me? I was on vacation with my wonderful husband last week and we had a blast together! At the beginning of the week we relaxed and had fun going downtown for St Patricks Day (it's a tradition :) with our good friends. 

The later part of the week we were "roughing it" in our wonderful cabin buried in the Great Smoky Mountains watching as much basketball as humanly possible. This trip is also another tradition of Hub and I's. Ever since our first year together we have gone down to Gatlinburg for a few nights to get away from it all...and shop!! If you didn't know, there is an amazing outlet mall in Sevierville, which is just outside of the G Burg. We save up all year because we know all the stores will be having their annual spring sales. We saved over $500 and walked away with a TON of stuff!
It's so nice to have my Hubby and our puppy all to myself even if it's only for a few nights. This year was awesome because we were so high up in the mountains we didn't even have cell phone service! I swear I felt closer to Jesus up there :) Peace, quiet, food and basketball. Pretty awesome. 
With staying in a cabin, there are a few things you don't have access to like in your normal kitchen, so you have the joy of improvising. In my case, I needed something to secure my bacon to my filet before it went on the grill (like I said..."roughing it"). After searching everywhere, all I could find were matches. So I popped the head off the match and stuck a few in the steak. Worked like a charm! 
Another joy of vacation was I ate whatever I wanted! I'm talking ordering cheese fries every time we went out to eat, having a hamburger AND hot dogs instead of just one...oh...and eating almost the entire box of these babies.
I'm not kidding when I say I maybe eat ten doughnuts all year. Even when I make my own doughnuts, I try to limit myself. But I had the vacation bug and there was nothing stopping me from inhaling almost this whole box!! Lucky for me the cabin had a huge wide open loft, so I did get a Zumba workout in every morning. I had to so I could make room for more food! It was truly an amazing week.

Before and while I was on vacation, I'd been on this hard boiled egg kick. I don't know what it is, but lately I just can't get enough of them. And it just so happens one of my sisters has the best Deviled Egg recipe any of us have ever known. I mean I have never liked any other deviled egg besides hers, because no others can compare. 

Well while making a recent batch of hard boiled eggs, I decided I wanted to try out her recipe. I called her up with my pen and pad of paper all ready to go, thinking it's some crazy complex recipe that is going to take me years to perfect. Umm, no. It is seriously so easy. And get this, there aren't any measurements. I swear! I've made these three times now in the past three weeks and they've turned out amazing each time. I'll explain.

So first you boil your eggs, then you peel em and cut em in half. Drop the yolks into a small bowl. They should just slide out of the egg. Crush up the yolks with a fork and lightly sprinkle sugar from one end of the bowl to the other.
If using a half dozen eggs, add a dime size amount of yellow mustard (or more or less depending on how much you like mustard) and about three times the amount of mustard with mayo into the bowl. Top with a pinch of salt and stir it all together. 
Scoop back into the eggs and stick in the fridge for about an hour. If you can't wait the hour, go ahead and dive right in. They'll still taste amazing. 
That's it! Now to make my cute little Deviled Chicks I cut a small amount off the bottom where the yolk isn't to help them stand up. Then I took a sharp knife and cut a zig zag pattern into the top round part, stopping when I felt the knife hit the yolk. Once I made it all the way around, it came off easily. 
Then I cut out the yolk and deviled them with the recipe from above. I scooped some yolk mix back into the shell and topped with the round part I had cut off earlier. Aren't they adorable!?!?
I can't wait to make these again for someone other than myself :)
I swear they all have different personalities!
I'm going to list measurements just in case you really need numbers to help you out, but this recipe is supposed to be made based on what tastes good to you. So don't be afraid to just wing it! Get it? Wing...like a chicken? No? Ok.

Ingredients:
6 Eggs
1/2 Tbsp white sugar
1 Tbsp Mayonnaise
1 tsp yellow mustard
1/4 tsp salt
Whole black pepper
1 slice of cheese, cut into small triangles

Directions:

First, hard boil your eggs. Set your eggs in a medium pot and cover with water. Add a pinch of salt, cover with a lid and set on high heat. As soon as the water starts to boil, transfer the eggs to a cold burner, but keep the lid on. Let sit in the pot for 15 minutes. Remove and transfer to a cold bowl of water. Set in the fridge for about a half hour.

Take out the eggs and peel off the shell. Slice a small piece off the bottom of the larger end of the egg so that the egg can stand up on it's own, making sure not to cut into the yolk. 

Using a sharp small knife, cut a zigzag pattern around the skinnier part of the egg, cutting in only until you feel the yolk, and remove the top. Cut out and place the yolks in a small bowl. Smash the yolks down with a fork.

Lightly sprinkle a thin layer of sugar across the top of the yolks. Add in the mayo, mustard and salt and stir together. 

Spoon the yolk back into the eggs and add two small pieces of whole pepper for the eyes and a small piece of cheese for the beak. Then top with the smaller part of the egg you cut off earlier. I like to thin mine out by cutting out some of the white part in the top. It helps the tops stay on better. Refrigerate for about an hour. Serve and enjoy!


These will be perfect for Easter! I can't believe it's almost April and we're still forecasted for snow! Anyone going anywhere fun for Spring Break? Got any awesome annual trips you go on? Love to hear about them!

Thanks for stopping by!

**I linked up to best of the weekend, from the farm, weekend bloggy reading, creativity unleashed, kitchen fun and crafty friday, foodie friday, friday link partythursday style, lovely little link partypin it thursdayall things thursdayfull plate thursdayriverton housewives round upinspire me wednesdaywicked awesome wednesdaycreative mustercreate link inspiretitus 2 tuesdaysimple supper tuesdaytasty tuesdaythe scoop

Sunday, March 16, 2014

White Potato Salad

Hey Hey and Happy Sunday! I am on day three of vacation and it's already been a blast. Hub and I went back to my Alma Mater to visit some good friends and drink some cold beers. Go IU! It was so great to see everyone, especially since Hub and I have basically been hermits with the cold weather we've been having.

It's been so nice to get out of the house lately and go do things again! I actually didn't need a jacket for the first time since November the other day. It felt weird...but it felt right. Now if the weather can just stop fighting the fact that spring is coming and give me 50+ degree days my life will be complete :) 

One of the things I've missed the most this winter is using our grill. I know you can still use your grill in the wintertime, but seriously who wants to march outside in -10 degree weather in two feet of snow to flip a burger when you can easily make one in your warm cozy kitchen?! Well now the snow is finally hopefully gone and we have immediately started grilling again. 

I decided I wanted to make something new to go with our yummy grill-made cheeseburgers we made last night and decided to give White Potato Salad a try!
Again, I'd never made this salad before, but I knew what I wanted in it. I've seen numerous different recipes, but none of them had everything I was looking for. So I decided to make up my own recipe. I started with the white dressing and then just added in things I liked until it tasted good. That's about it!
The smell of the grill was almost intoxicating. It reminded me that warmer days are still to come. It reminded me of fireworks, and sitting outside late into the night, and crickets, and catching lightning bugs, and walking around barefoot. All the things I love but haven't had in months!
Ingredients:

4-5 Russet potatoes (or whatever kind you prefer)

2/3 Cup sour cream
1/4 Cup mayonnaise
2 tsp yellow mustard
3-4 Tbsp white vinegar
2 hard boiled eggs, cut up
1/2 Cup celery, chopped up
1/4 Cup parsley
3-4 Tbsp dill weed
salt and pepper

Directions:

Start off by boiling your potatoes. Put your potatoes in a large pot and add 1 tsp salt and enough cold water to cover them. Boil on high heat. Once boiling, turn heat down add let simmer for about 20-25 minutes or until tender when poked with a fork.

Drain and rinse with cold water to stop the cooking. Set aside to finish cooling.

To make the dressing mix together the sour cream, mayo and mustard in a large bowl. Stir in a tablespoon at a time of the vinegar, stopping once it reaches your desired thickness. You'll want to make sure it's pretty easy to pour, but again stop when you are happy with the consistency.

Cut the potatoes into medium cubes and add to the dressing. I kept the skins on mine, but feel free to take them off. Stir until coated in the dressing, then add all remaining ingredients and stir until everything is combined together. For the salt and pepper just do a couple shakes, tasting as you go, and stop when it tastes right to you.

Put the salad in the fridge for 1-2 hours before serving. Enjoy!

Are you ready for spring?! I know we are. Our seedlings are in full bloom and our garden plans are well underway. And I've got a few summer ideas I cannot wait to try. Hope the rest of your weekend is wonderful!

Thanks for stopping by!

**I linked up to simple living and eatingkitchen fun and crafty fridaythursday stylepin it thursdayfull plate thursdaywicked awesome wednesdaywordless wednesdayfluster bustertutorial tuesday,  show me what ya gotmetamorphosis monday, much ado about mondaythe sunday showcase,  frugal crafty homecraft o maniacamaze me mondaybusy monday

Thursday, March 13, 2014

Tortilla Pizza

Hey All!! So don't hate me but...I'm on VA CA TION!!! It's really more of a staycation, but still. I don't have any Zumba classes to teach, and as soon as the clock strikes 6:15pm tomorrow, Hubby will be on vacation with me. Yay! Nothing but lazy days and lots of eating ahead of me. Awesome. 

So to kick start my week of doing absolutely nothing, I decided to make one of my favorite lunches. This is a meal I recently tried out and immediately fell in love with. Two reasons I'm now obsessed with this: 1. It's pizza so duh. 2. I get to eat pizza my way and HUBBY CAN'T STOP ME!! Why am I shouting that? Because in the almost five years we've been together I have only been able to eat pizza the way I want it when we happen to go to a pizza place that happens to have all the toppings I like and happens to have the sauce I like and happens to make their pizza in other sizes besides Large. See if I get a large, I end up with tons of leftovers and barely get around to eating it all. You can imagine how many times that's happened (not many!). So I came up with a solution that is super inexpensive and crazy easy to make! Welcome to my life Tortilla Pizza!

I'm sure there are plenty of you out there that have already thought of this, but I hadn't. And now that I have, it's like...it's like that moment in college where you decide to actually open a book and start studying and realize how easy (college) life could've been this whole time. It's like realizing if you had just always told your parents the truth, (high school) life could've been so much better. 
I know I've said on here before it's the little things in life that get me...and it's true. I seriously think my life will be easier and better now that I've made this. And it only takes a few steps!
Ha I say it will be easier and better because we have pizza all.the.time and Hub and I always have to compromise on what we get because we don't like the same toppings. Like at all! He likes tomato sauce, sausage, mushroom and onions and I like white sauce, pepperoni, green olives and green peppers (I didn't have green peppers otherwise they'd be in the pictures :). Marriage already comes with so much compromise; it'll be nice to have a simple way that Hubby and I can both have what we want and still keep the other one happy! And it's way cheaper than ordering pizza. Success!
Oh and of course my little fluff monster, Zen, was more than willing to help me take my pictures! Seriously the cutest dog ever!
Ingredients:

1 tortilla
1/2 tsp salt
1/2 tsp pepper
1/2 tsp garlic powder
1/2 tsp Italian seasoning
1 Tbsp Parmesan cheese
2 Tbsp Alfredo sauce or tomato based pizza sauce or whatever sauce you like
1/2 Cup Cheese- again whatever you like. I used mozzarella and Italian blend
Favorite pizza toppings- I used 10 pepperonis and four olives cut in half

Directions:
Set your toaster oven to the "Toast" setting. Or preheat your oven to 400 degrees. 

Take out your tortilla and set aside.

Mix together the salt, pepper, garlic powder, Italian seasoning, and Parmesan cheese in a small bowl. 

Add the Alfredo and mix together. Spread the Alfredo mix onto the tortilla.

Add the cheese and then the pizza toppings.

Bake for about 8 minutes or until the tortilla starts to brown a tiny bit on the edges.

Remove, let cool for about a minute, slice and enjoy!! I've had this for lunch the past three days now and still can't get enough.


Need a toaster oven? This is the one I use!

Cuisinart TOB-40 Classic Toaster Oven  

What are your favorite pizza toppings? Do you and your significant other happen to be kindred pizza spirits and love the same toppings? Or is it a constant battle like in our house? :)

Thanks for stopping by!

**I linked up to pin it thursday, full plate thursday, wicked awesome wednesday, wordless wednesday, fluster buster, tutorial tuesdayshow me what ya got, metamorphosis monday, much ado about monday, the sunday showcase, frugal crafty home, craft o maniac, amaze me monday, busy monday, weekend bloggy readingcreativity unleashedtickled pinkfoodie fridaykitchen fun and crafty fridayfriday link partytidy momthursday stylefriday flash blog

Tuesday, March 11, 2014

Fluster's Creative Muster - Linky Party #62

I am so excited to be back for another week of co-hosting with the lovely Robin! Last week's link ups were amazing and I can't wait to see what you bring us next.

In case you missed it...here's what I've been up to:
These Cinnamon Roll Cookies are the best sweet treat!

Enough about me! Now I want to see what you've been up to!!

Fluster's Creative Muster Linky Party #62

Fluster's Creative Muster Linky Party #62

Despite knowing all of the benefits there are to eating a healthy breakfast I tend to skip it during the week. I blame it on being to busy. However, Elie from Organizer by Day just blew my excuse by sharing her recipe for Eggs on the Go. Thanks Elie, now I don't have an excuse for not eating breakfast. LOL

Fluster's Creative Muster Linky Party #62

Host
Fluster's Creative Muster Linky Party #62

Co-Host
Fluster's Creative Muster Linky Party #62

Fluster's Creative Muster Linky Party #62

Monday, March 10, 2014

Easiest Homemade Cheesy Bread

So I'm going to get just a tad bit personal on the old bloggy blog today and letting you in on a little secret...in a few weeks Hub and I are going to start trying to make a baby!! I can't believe it's finally here!! We've been planning this for several months now and I can.not.wait. Funny thing is I was always the kid growing up who always said I would never have kids. Like ever. Like the thought of having a kid seriously freaked me out and I thought it meant my life would be over like forever!!

That was 16 year old me. And 20 year old me. And really 24 year old me. I'm now still barely in my twenties and all I can think about is babies!! I owe my new thought process to my wonderful husband. It was about six months into our relationship when I finally woke up and realized being a Mom is the only thing I want to do. It's the one thing in this world I want more than anything. It's why God put me here. The reason I "woke up" was because I finally had someone in my life that meant more to me than anyone or anything else. And all I wanted was to spend the rest of my life with him and make a family with him! 

Obviously six months into a relationship isn't really the time to tell a guy all of that. :) So I kept it to myself and prayed to God to give me patience and to let me know when the time was right. Fast forward four years and here we are happily married and finally ready to get started. The time is right now...and I am so happy.

So what does all of that have to do with today's recipe? I'll tell ya. 
All I keep hearing about being pregnant is the cravings! They take over your mind. You can't think about anything else until you can eat whatever it is you want right at that moment and no one can stand in your way of eating that 1 pound chili cheese footlong hot dog!! Ok, that sounds extreme, but that's what I hear. I know there's no way of knowing what kinds of food I'll crave when/if I do get preggers, but I do know I won't feel bad about eating all of the awesome things I usually steer clear of at that point. And since I'll be able to eat whatever I want (within reason...I know I can't eat fish or caffeine or anything that would hurt my baby), I want to start learning how to make my favorite foods at home instead of paying the expensive prices of ordering food. One of my absolute most favorite foods is Papa Johns cheesy bread. At $5 a piece plus tip, it's not the most expensive dish, but if I eat one a day it'll start to add up. So I decided to try and make my own version. Thus the creation of the Easiest Homemade Cheesy Bread!
I mean this was seriously so simple and it took less than 20 minutes start to finish. I just melted some butter, added in my favorite seasonings, spread it on my premade dough, threw on about a pound of cheese, baked and done. I would've made my own dough but I was out of flour and didn't feel like running to the store...hence the easy part :)
I am so excited to know I can make those same cheesy garlicy awesome cheese sticks the good Papa makes. It's going to save us so much money! 
So let's see...homemade Reese Cups? Check. Homemade juicy Bacon Cheeseburgers? Check. Super awesome cheesy bread? Check. Now if I can just learn how to make Starbursts and Air Heads I'll be set! Hmm maybe I should add watermelon to the list of things I want to grow in my first garden this year. I'll be back soon to tell you all about that!
Ingredients:
2 Tbsp butter, melted
1/2 tsp garlic powder
1/2 tsp salt
1/2 tsp pepper
1/2 tsp Italian seasoning
1 clove minced garlic
1 premade pizza dough (I used Boboli, thin crust)
1 Cup Italian cheese, shredded
1 Cup Mozzarella cheese, shredded
Grated Parmesan cheese

Directions:
Preheat the oven to 450 degrees. Get out your pizza stone.

Mix the melted butter, garlic powder, salt, pepper, Italian seasoning and minced garlic together in a small bowl.

Brush butter mix all over the pizza dough, including the crust. Sprinkle cheese all over the dough and top with Parmesan cheese.

Bake for 8-12 minutes, or until your desired golden brown. Let cool. Cut up. Eat.Eat.Eat. It was hard for me to stop! Ha I just realized I spent about $4.40 on this recipe, so not a ton of savings but when I get flour I'll be saving a ton :)


Thank you for letting me share a little about me today. Wish us luck on trying to become parents! If you have any advice, I'd love to hear it!

Need a pizza stone? This is the same one I use!


Pampered Chef Medium Round Stone with Built In Handles
How awesome would this pizza cuter be?!

RSVP World Class Pizza Cuter

Thanks for stopping by!